I hear the struggles of hanging pictures all the time. As a matter of fact, I know a bunch of people who have purchased prints and wall art but are afraid to actually hang them! Hanging photos can indeed be a somewhat daunting task, but with the right tools that task can become less scary and maybe even fun! As a photographer I have hunted high and low for tips and tools that might help with this challenge. Today I'm sharing my favorite five.
FOR SHEETROCK
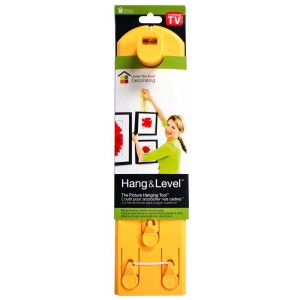
Simple Hanging Tool
You can pick up this tool at Home Depot or Lowes for under $15. Hang your photo on the hook then hold it up on the wall to find the perfect location. Once you do, remove the photo (leaving the tool on the wall) and push the button to mark the wall exactly where you need to nail/screw the hook. Easy Peasy!
Beehive Picture Hangers
I recently became aware of these awesome hangers. For those of you who struggle with getting the measurements perfect, as long as you come close - it won't matter. Multi-image displays are a breeze with these. Simply attach the hook to the back of your frame/canvas and place the picture on the wall where you like it adding a touch of pressure to make a mark (similar to the Hang & Level Tool above). Install the hanger where you marked and now you can easily hang and adjust the picture to the perfect location. I love that you can micro-adjust the location of the picture up, down, right or left. You are pretty much guaranteed a perfect install!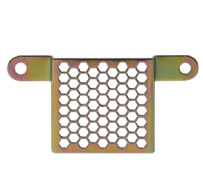
Monkey Hooks
These are so cool. Not only are they cool, but they are very affordable. You can pick them up in any hardware store - I've even seen them in Target. All you need to do is push them into the drywall and finagle the hook through. The large hook balances the weight of the picture on the inside of the wall. Best part - no drilling, hammering or tools required! 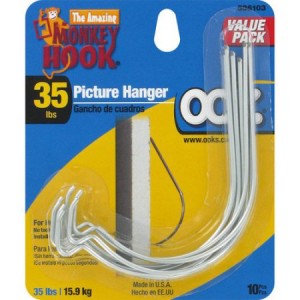
FOR PLASTER
For those of you who live in older homes (like me) you have the added joy of worrying about cracking and crumbling the plaster when you try to nail or drill into it. So much fun, right? This makes picture hanging twice as scary because fixing a mistake can be much more involved than it is with drywall. But no worries - here are two options to consider.
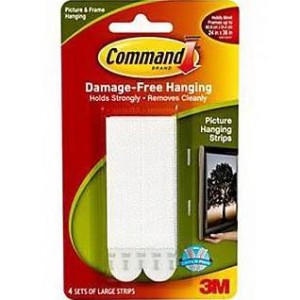
Command Strips, Hooks, Etc
Oh 3M, how I love you for coming up with these amazing little strips! You can use the velcro versions or the hook versions to get those photos on the wall without doing any damage! I highly recommend this for lighter weight products like Standouts and Mounted Prints. They do make heavy duty command strips for heavier items (framed prints and canvases), however I personally prefer to use regular hanging hardware for those.
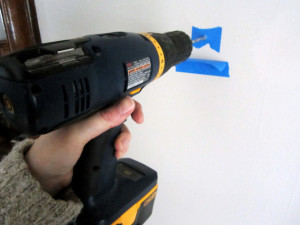
Painters Tape Trick
- Once you know where to hang your piece, cover the mark with painters’ tape or masking tape to prevent the plaster from cracking or crumbling around the nail hole.
- With a pen, mark the hanging spot over the tape.
- At slow speed, drill a pilot hole using a drill bit just big enough for the size of the hardware you’ll be using.
- Remove the tape and put your nail, screw or toggle bolt in the hole and hang your picture.